Alexseal Paint (Prep)
So, I've been off on a painting adventure. This adventure started after I saw these videos on youtube.
https://www.youtube.com/watch?v=aO2u2RShmZs
and
https://www.youtube.com/watch?v=QtD0wvNAjD0
If you watch the two videos you will know what I knew when I started. Also, I've attached the Alexseal application guide. There is a lot of information there so I've highlighted most of the relevant "stuff".
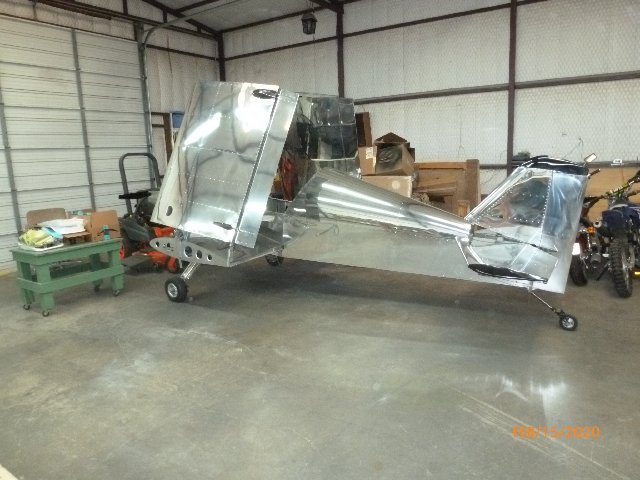
So here we go. Time to fold the Onex up and stick it in the corner. Those folding wings are as handy as a pocket.
I'm going to write this as if you have never painted before. I know that's probably not true, but just in case.
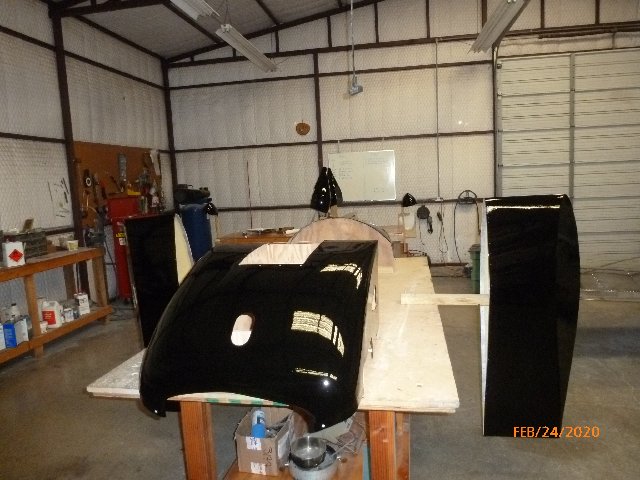
First the prep. This step is the same no matter what paint you chose to use. It's all about filling rivet holes and imperfections in the surface, cleaning the surface, and sanding the shine off the gel-coat. You will need something to hold the parts while they are being painted so why not go ahead and jury-rig the fixtures now to help support the parts while sanding. I'd like to give a little shout out to Sonex for the quality of their fiberglass parts. In this instance they were much superior to the Van's wheel pants I decided to use.
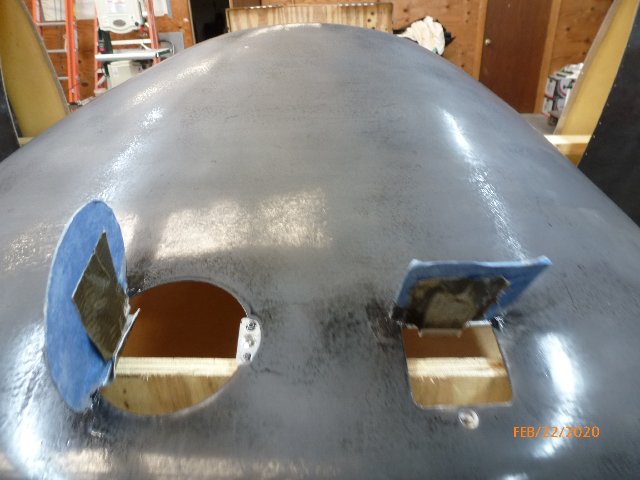
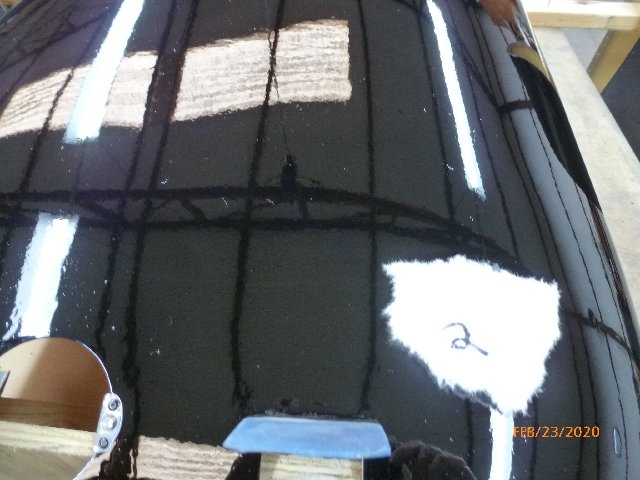
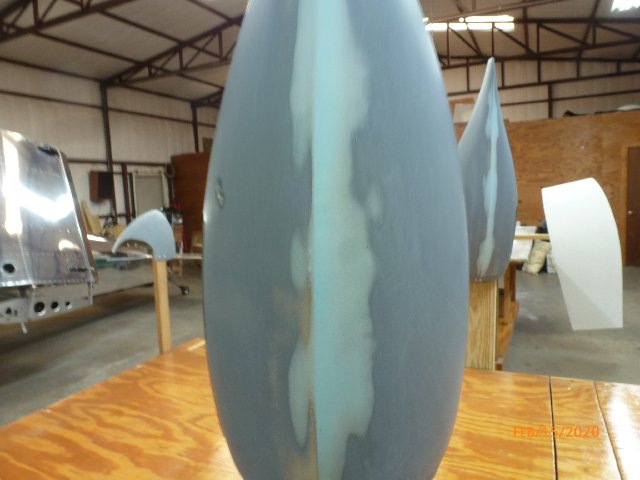
The cowl after filling and sanding.

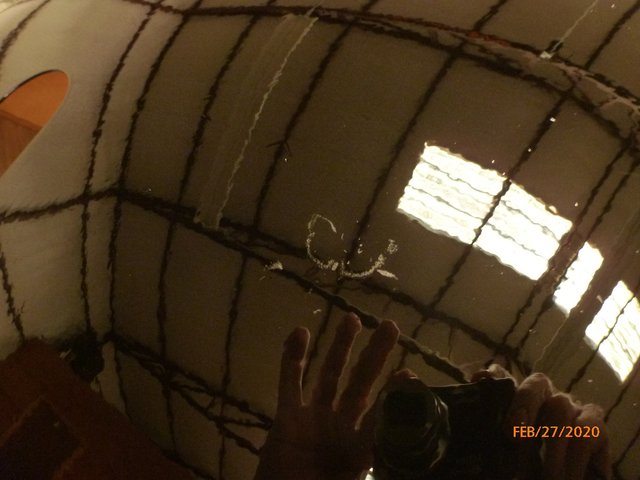
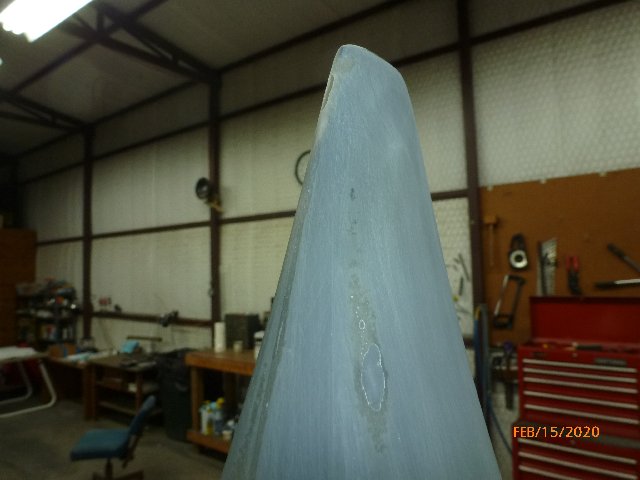
The wheel pants had an ugly seam down the middle that had to be fixed.
Also, there was a void and a hole that mysteriously showed up just before priming. To late now, I just painted over it.
I used Superfil for the filler. Remember, if you can feel it you will be able so see it through the finish. Remember to clean the surface before sanding. I cleaned with alcohol followed by a dewaxer/surface prep. I used 3M "Faster Sanding" 150 grit to sand the gel-coat. 150 grit proved to be a little too cores. If I were starting over I would bump it up a grit. I also used a soft/flexible sanding block since I'd be sanding irregular surfaces. Try not to sand through the gel-coat Careful along the edges and on the ridges while sanding. A recurring theme.
More to come.
Wes
https://www.youtube.com/watch?v=aO2u2RShmZs
and
https://www.youtube.com/watch?v=QtD0wvNAjD0
If you watch the two videos you will know what I knew when I started. Also, I've attached the Alexseal application guide. There is a lot of information there so I've highlighted most of the relevant "stuff".
So here we go. Time to fold the Onex up and stick it in the corner. Those folding wings are as handy as a pocket.
I'm going to write this as if you have never painted before. I know that's probably not true, but just in case.
First the prep. This step is the same no matter what paint you chose to use. It's all about filling rivet holes and imperfections in the surface, cleaning the surface, and sanding the shine off the gel-coat. You will need something to hold the parts while they are being painted so why not go ahead and jury-rig the fixtures now to help support the parts while sanding. I'd like to give a little shout out to Sonex for the quality of their fiberglass parts. In this instance they were much superior to the Van's wheel pants I decided to use.
The cowl after filling and sanding.
The wheel pants had an ugly seam down the middle that had to be fixed.
Also, there was a void and a hole that mysteriously showed up just before priming. To late now, I just painted over it.
I used Superfil for the filler. Remember, if you can feel it you will be able so see it through the finish. Remember to clean the surface before sanding. I cleaned with alcohol followed by a dewaxer/surface prep. I used 3M "Faster Sanding" 150 grit to sand the gel-coat. 150 grit proved to be a little too cores. If I were starting over I would bump it up a grit. I also used a soft/flexible sanding block since I'd be sanding irregular surfaces. Try not to sand through the gel-coat Careful along the edges and on the ridges while sanding. A recurring theme.
More to come.
Wes